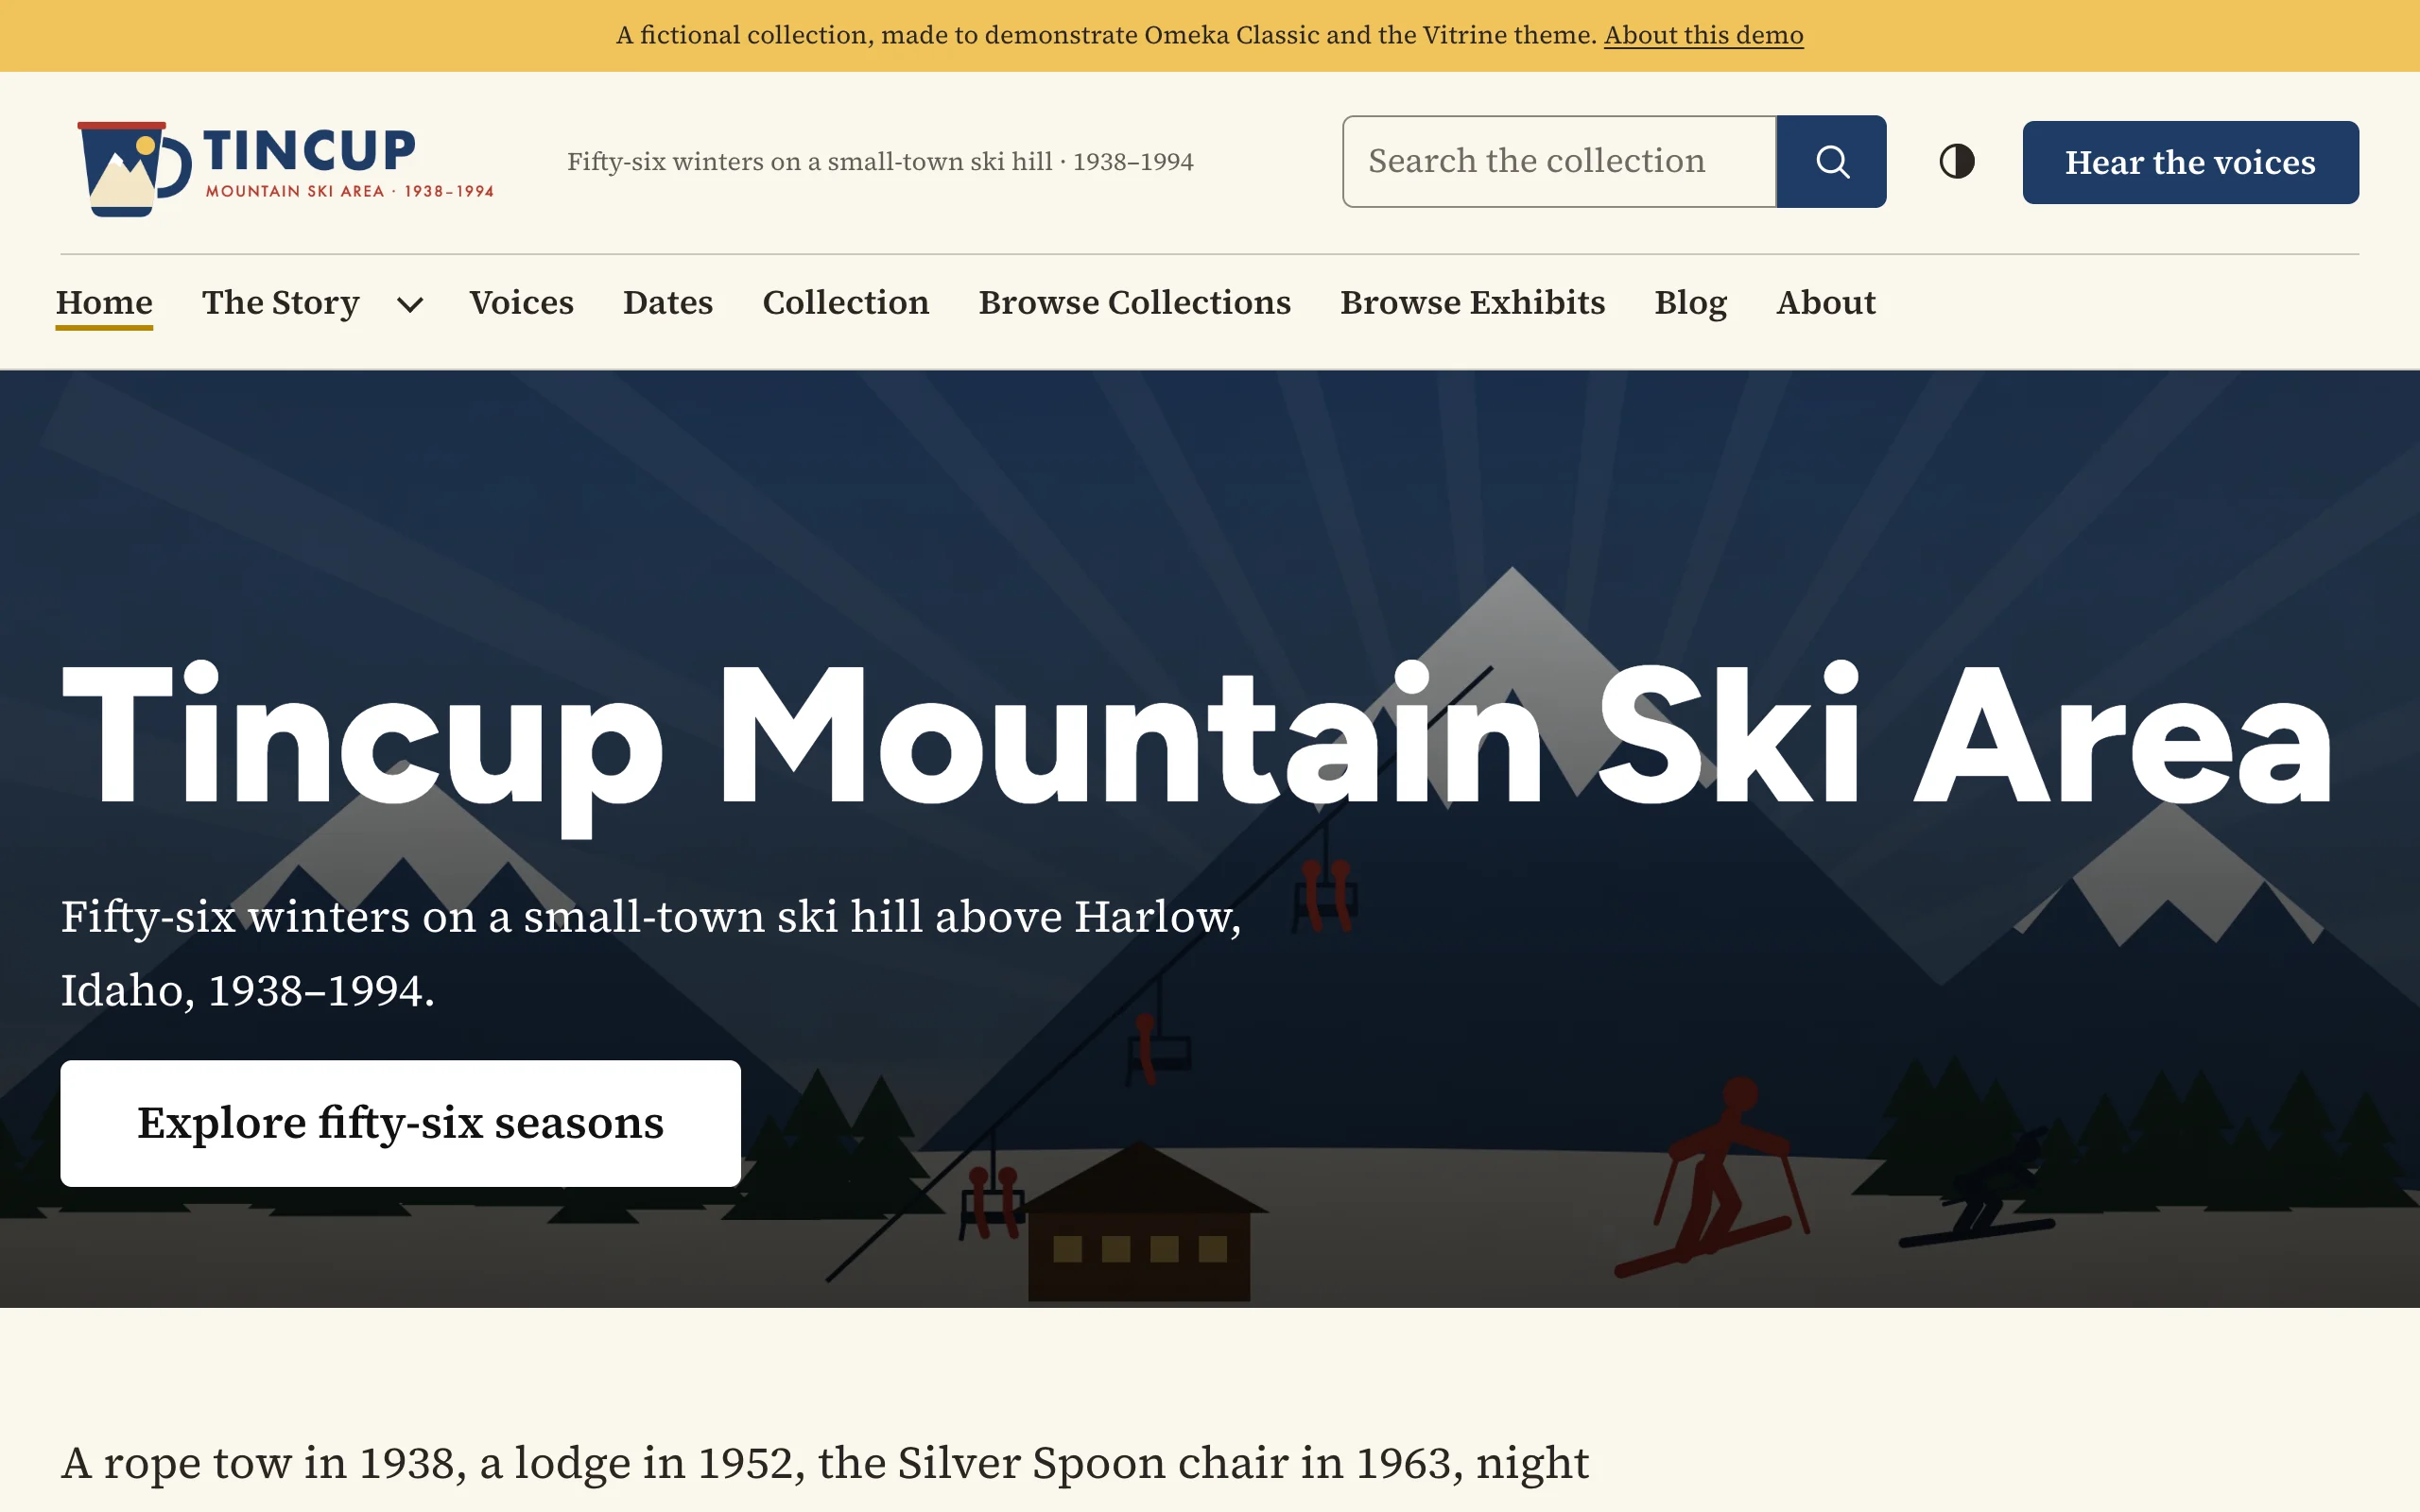
The screenshots in these pages show Vitrine on Tincup Mountain, a fictional ski area's collection, running on Omeka Classic.
Requirements
- Omeka Classic 3.1 or later
- PHP 8.1 or later
Vitrine has no other requirements. Its fonts, icons and scripts are included and served from your own site. Exhibit pages need the Exhibit Builder plugin, and Simple Pages the Simple Pages plugin, as with any theme.
Installing
- Unzip the theme and copy the
vitrinefolder into thethemes/folder of your Omeka Classic installation. - In the admin, go to Appearance › Themes.
- Click Use this theme under Vitrine.
- Click Configure Theme and choose a style preset. See First steps.
Vitrine is now your site's theme. Its settings are kept with the theme: if you switch to another theme and back, they are still there.
Optional companions
- Design Studio adds a live-preview customizer: change settings beside your site, with a color picker for the colors, and publish when you are ready. Super Users can use it.
- BlockSuite adds sixteen exhibit layouts (hero, call to action, statistics, timeline, item cards, slider, tabs, accordion…) and shortcodes, all in Vitrine's style.
Upgrading
Replace the themes/vitrine folder with the new version. Settings are stored in Omeka's database and uploaded images in files/theme_uploads, so both are kept. Read the changelog for anything new to set up.
Making your own edition
To keep your own changes across upgrades, copy the theme to a new folder name (for example themes/vitrine-museum) and change title in its theme.ini. A copy keeps working with Design Studio. Settings are stored per theme folder, so the copy starts with its own settings.
For changes of style alone, Advanced › Custom CSS is simpler: it is kept when the theme is upgraded. See Custom CSS and design tokens.