Once your site is ready, two buttons appear at the top of its page in the dashboard. Here is what they do and how to sign in for the first time.
Public Site and Admin Site
- Public Site opens your site the way visitors will see it.
- Admin Site opens the Omeka admin area, where you add items, build exhibits, and manage settings.

Both open in a new tab, so your dashboard stays right where you left it. To get there, click the site on the Sites page.
Finding your login details
Your Omeka site has its own login, separate from your RefBytes account. We set it up for you when the site was created:
- Your username is the admin email you entered on the new site form. If you left the default, that is your own email address.
- Your password was generated automatically and stored for you.
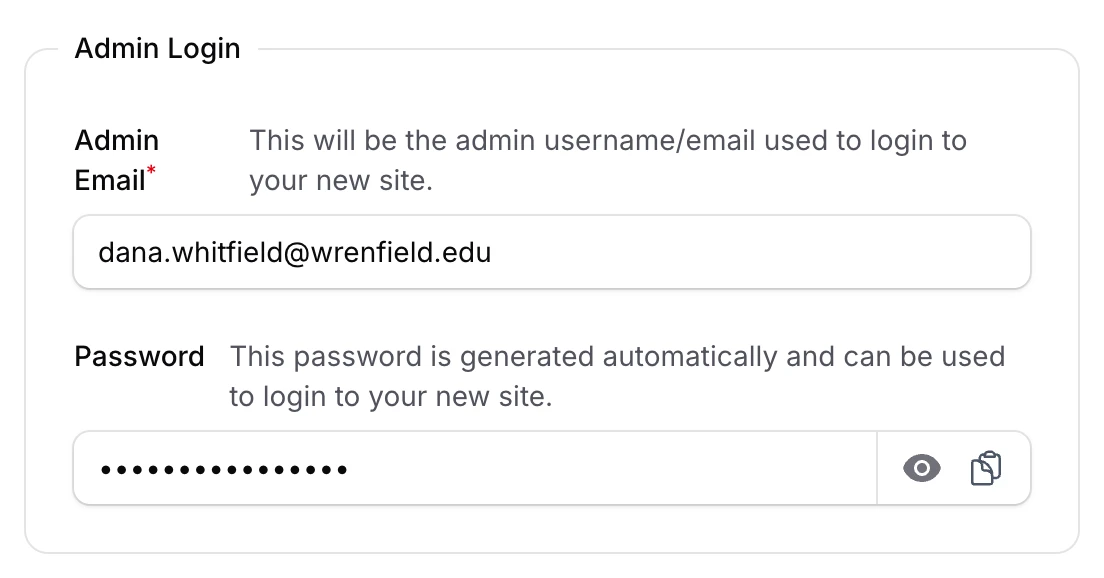
To see the password, open your site in the dashboard. Its Settings page has an Admin Login section with the admin email and the password. Click the eye icon to reveal the password, or the copy icon next to it to copy it without showing it on screen.
Signing in
Click Admin Site, then enter your admin email and the password from the Settings page. On Omeka Classic, the email goes in the Username field. That is it. You are in Omeka and ready to add your first items.
A tip about passwords
You can change your password from inside Omeka whenever you like. Keep in mind that the dashboard shows the original generated password, so if you change it in Omeka, the one in your dashboard will be out of date. Store your new password somewhere safe, like a password manager.
What's next?
From here, the adventure moves into Omeka itself. The Omeka team maintains excellent guides for both platforms:
And whenever you need hosting-side things like backups, upgrades, modules, or a custom domain, come back to your dashboard and these docs.