Every new site starts life on a temporary web address under our domain. It works the moment your site is ready, so you can start building right away. But when it is time to share your collection with the world, you probably want your own domain name on it, something like collections.yourmuseum.org. Here is how to set that up.
Step 1: Point your domain at your site
Before anything else, your domain needs to know where your site lives. This happens at your DNS provider, which is usually the company you bought the domain from (or whoever manages your organization's domains).
Think of DNS as the internet's address book. You are adding an entry that says "when someone types my domain, send them to my site." The specific entry you need is called a CNAME record, and it should point your domain at your site's temporary address.
You can find the temporary address on your site's Settings page, shown in grey inside the empty Domain field. Copy it down before you go on, because once you save your own domain, the temporary address is no longer shown there.
A CNAME works for a subdomain like collections.yourmuseum.org. A bare domain like yourmuseum.org usually cannot use one, so if that is what you want, get in touch first and we will help.
DNS changes are not instant. They can take anywhere from a few minutes to a few hours to spread across the internet, so this is a good step to do first.
Step 2: Add the domain in your dashboard
Open your site, type your domain into the Domain field on the Settings page, and click Save changes. The reminder under the field is about the CNAME record from step 1.
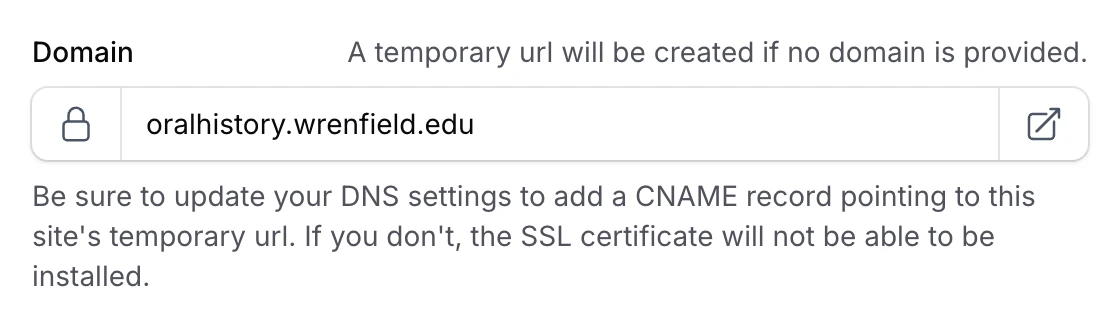
That is all you have to do here. Saving registers your domain on the server automatically. From then on, the Public Site, Admin Site, and View Site buttons use your domain, and the padlock at the left of the field opens, because your domain does not have a certificate yet.
One thing to know: once you save a custom domain, the field becomes read-only. If you ever need to change it, get in touch and we will take care of it. See getting support.
Step 3: Get a certificate for your domain
Your site got an SSL certificate for its temporary address when it was set up. Your new domain needs one too, which gives it the padlock in the browser, free of charge.
Once your CNAME record from step 1 is in place, click the open padlock at the left end of the Domain field to Install SSL. The new certificate covers your domain.
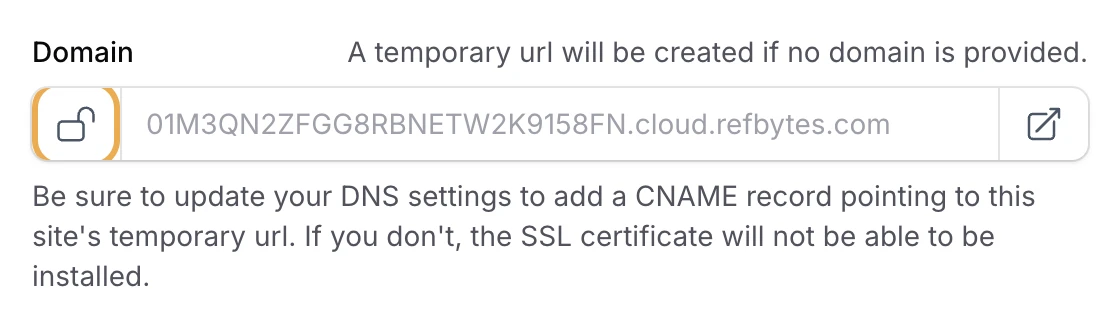
Installing takes up to a few minutes, and the padlock closes when it is done. The whole story is in SSL certificates.
If the certificate does not install, the most common reason is that your DNS change has not finished spreading yet. Wait a bit and try again, or see SSL won't install for help.
And that is it. Your site now answers at your own domain, and the temporary address quietly did its job.