The built-in catalog covers the official directory, but maybe you have something of your own: a module you built, a theme you commissioned, or a plugin you bought somewhere else. You can bring those into RefBytes too. Register it once for your team, and from then on it shows up in the Available list on any matching site, ready to install with one click.
Getting access
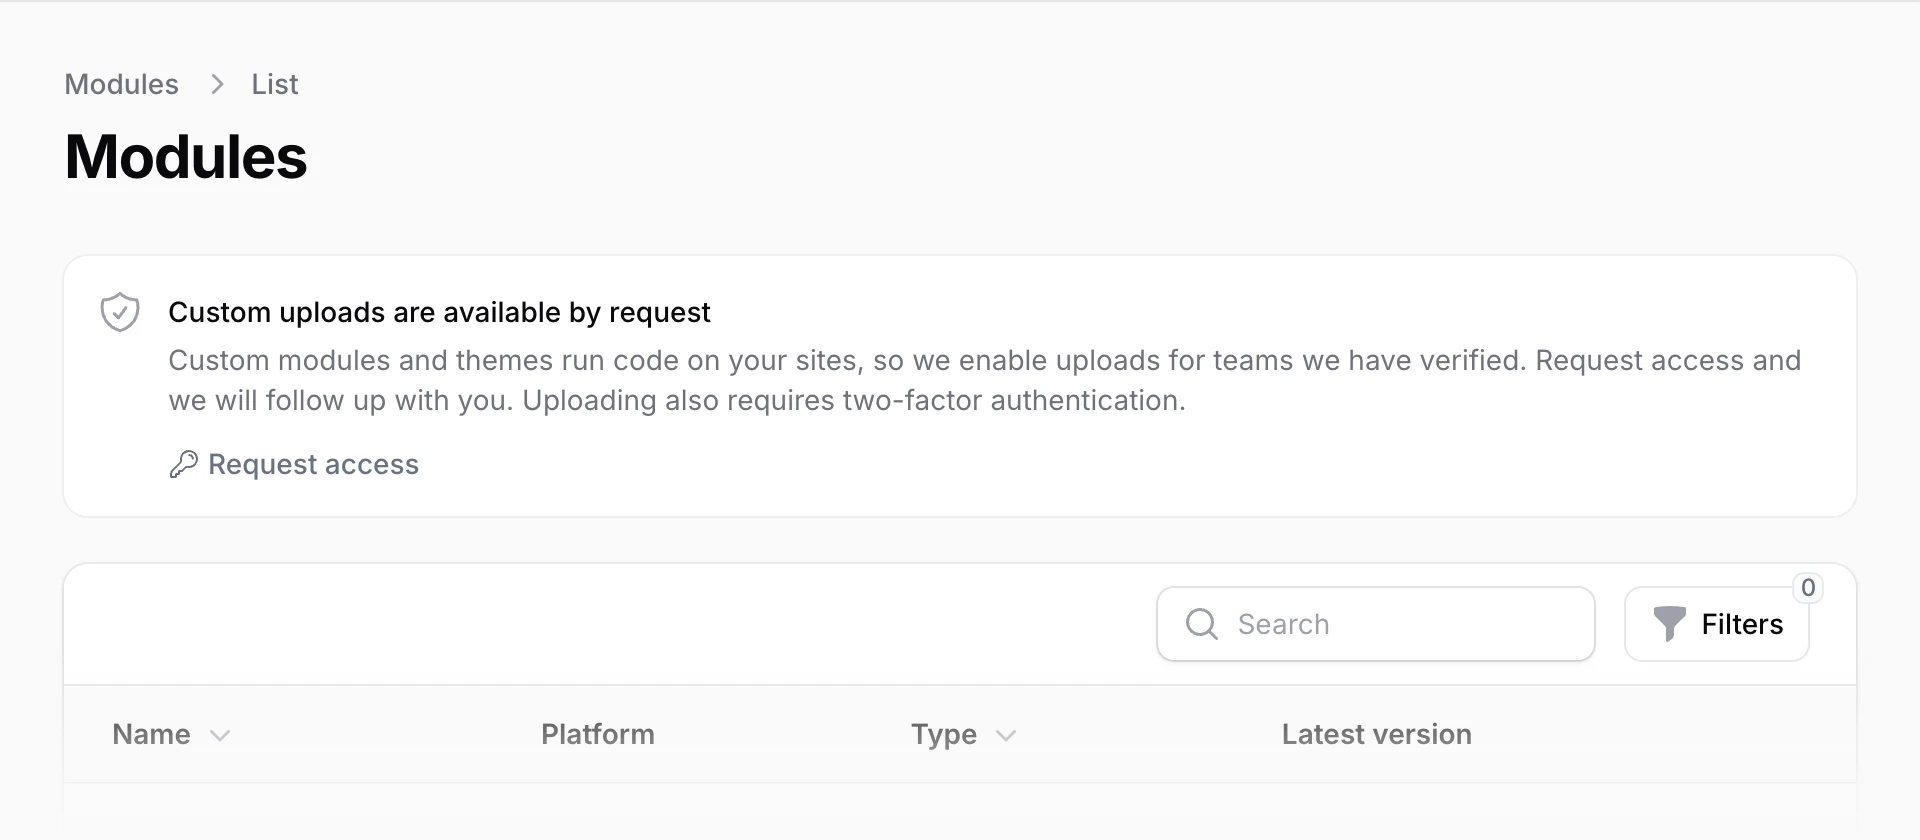
Custom modules and themes run code on your sites, so uploads are switched on team by team. To upload, you need:
- The team owner role. Team members can ask an owner to upload for them.
- Custom uploads enabled for your team. If they are not yet, the Modules and Themes pages in the menu show a Custom uploads are available by request box. Click Request access, tell us briefly what you would like to upload, and click Send request. We will follow up with you, and you will get a notification when uploads are on.
- Two-factor authentication on your own login. If uploads are enabled but you have not turned it on, the box links you to your settings. See your profile and security.
Register the module or theme
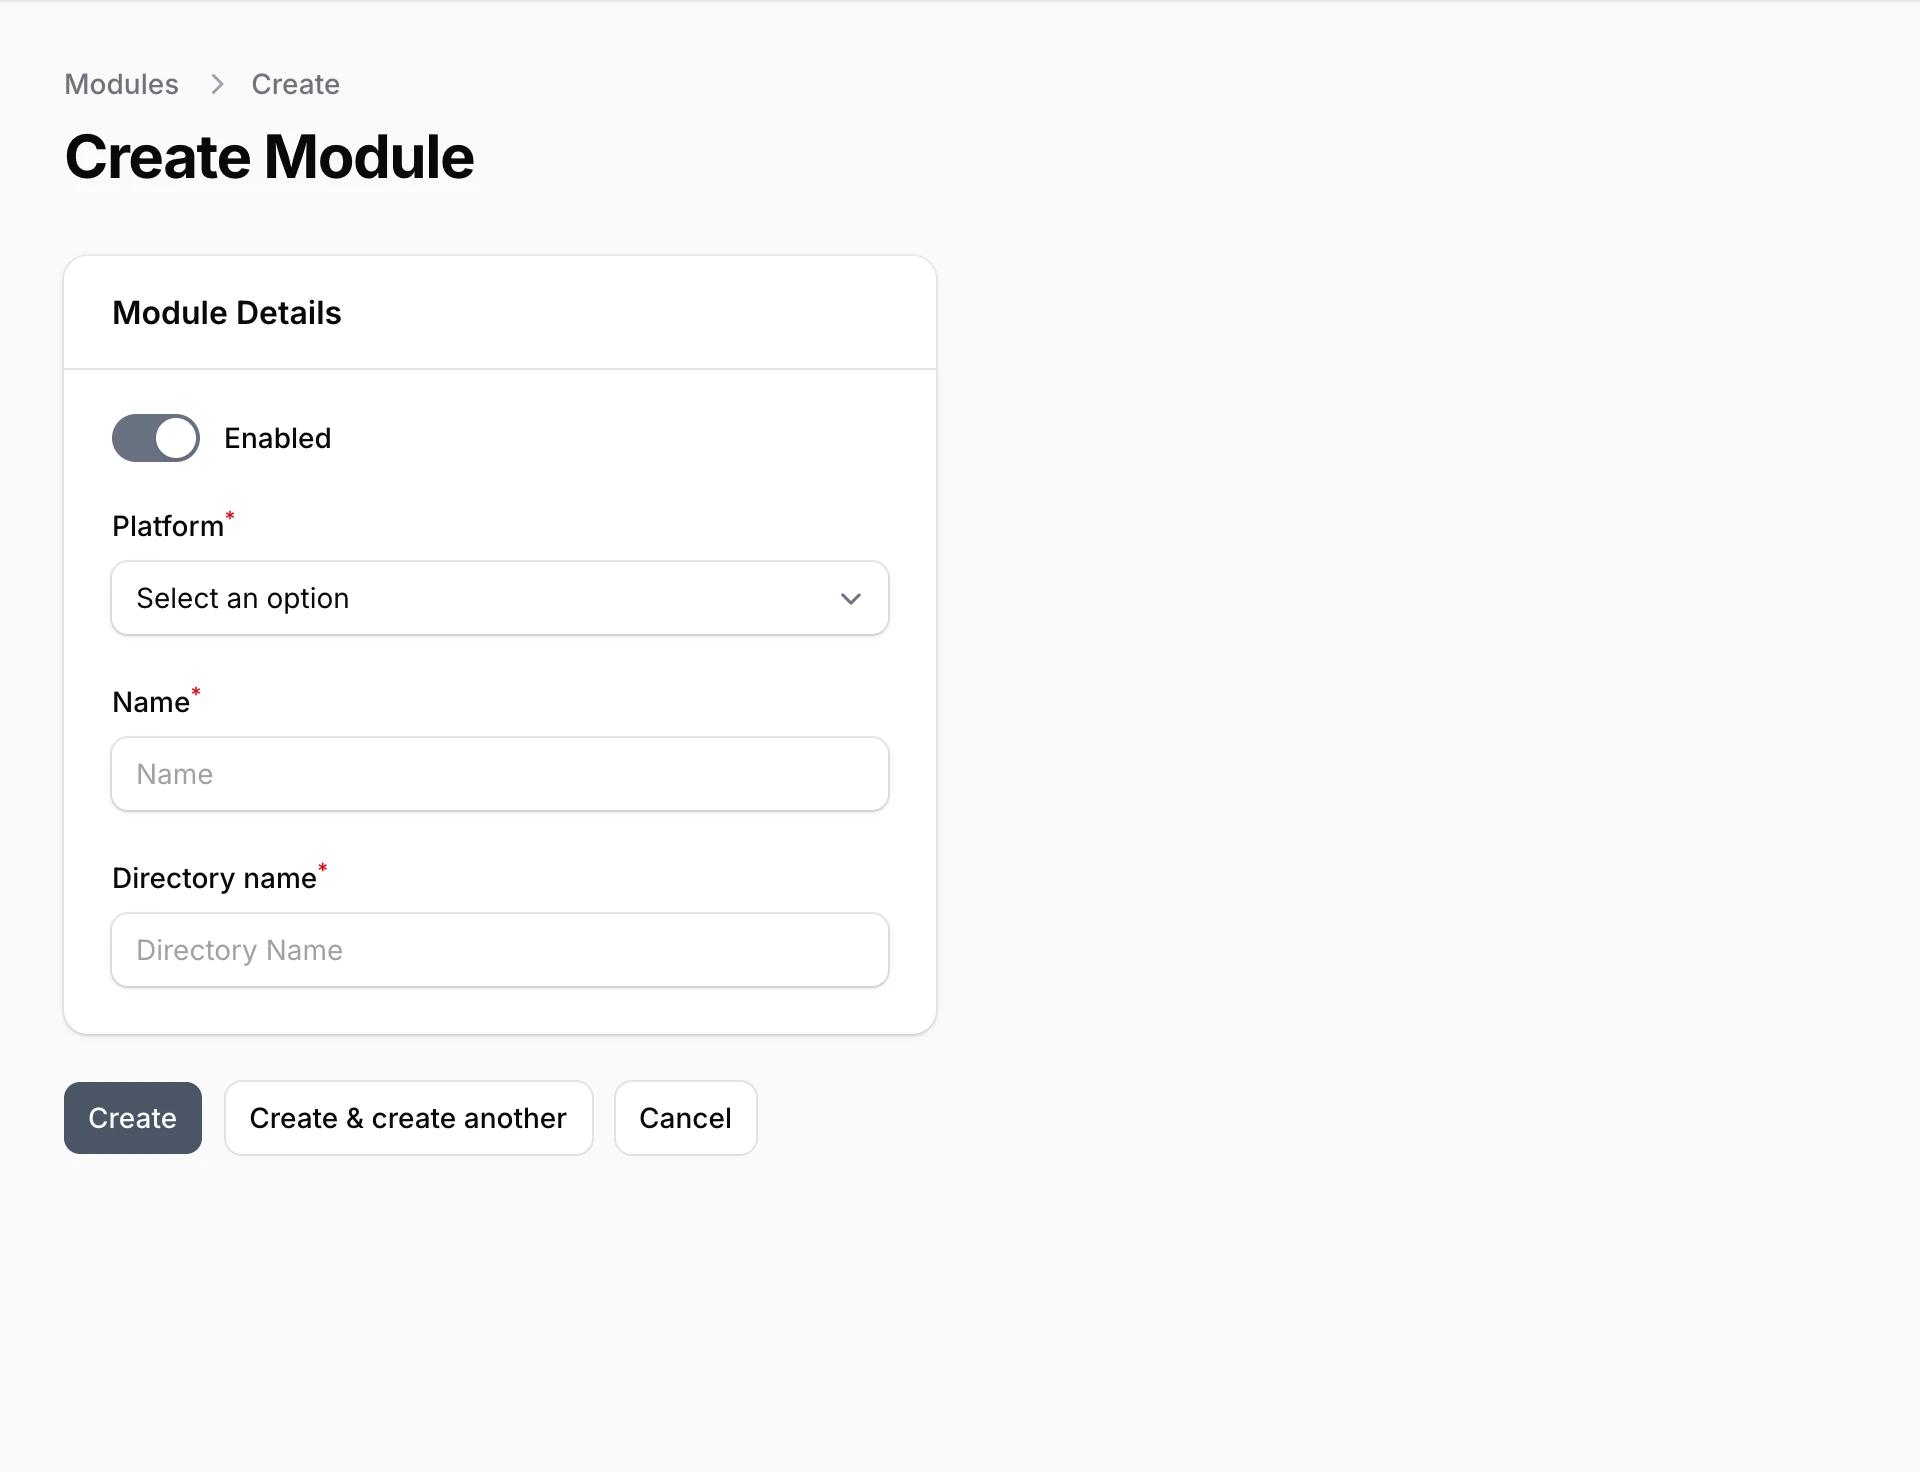
Once you have access, head to the Modules or Themes page in the menu and click New module or New theme. The form asks for a few things:
- Enabled. Leave this on so the item appears in your sites' Available lists.
- Platform. Whether this is for Omeka (Classic) or Omeka S. It will only be offered to sites on that platform.
- Name. A friendly name, shown in your lists.
- Directory name. The name of the folder inside your zip file. This one matters: it has to match the folder in the zip exactly, and it cannot be changed later, so double-check it before saving.
Names and directory names have to be unique on each platform, including the built-in catalog, so you cannot reuse the folder name of a catalog module.
Upload a version
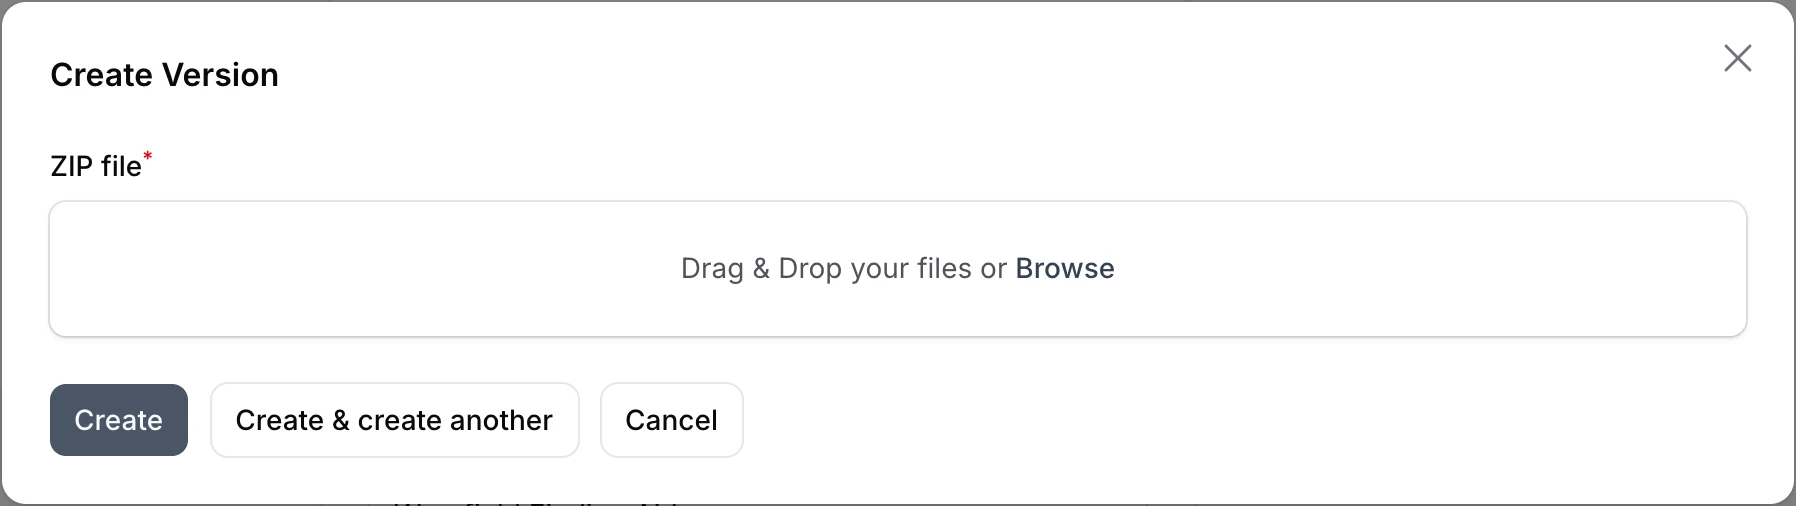
Registering creates the entry, but it does not have any files yet. After you click Create, you land on the module's page. Under Versions, click Upload Version, attach your zip file, and click Create. This is the same zip you would use to install into Omeka by hand, so if you downloaded it from a developer or built it yourself, you can upload it as-is. Zip files can be up to 12 MB.
You do not need to type a version number. We read it straight from the zip, from the standard config file every Omeka module, plugin, and theme includes:
- Omeka S module:
config/module.ini - Omeka S theme:
config/theme.ini - Omeka Classic plugin:
plugin.ini - Omeka Classic theme:
theme.ini
each inside the folder named by your directory name. If the zip does not contain that file where we expect it, or the file does not list a version, the upload is rejected. When that happens, the usual culprit is a directory name that does not match the folder inside the zip.
Review of your first upload
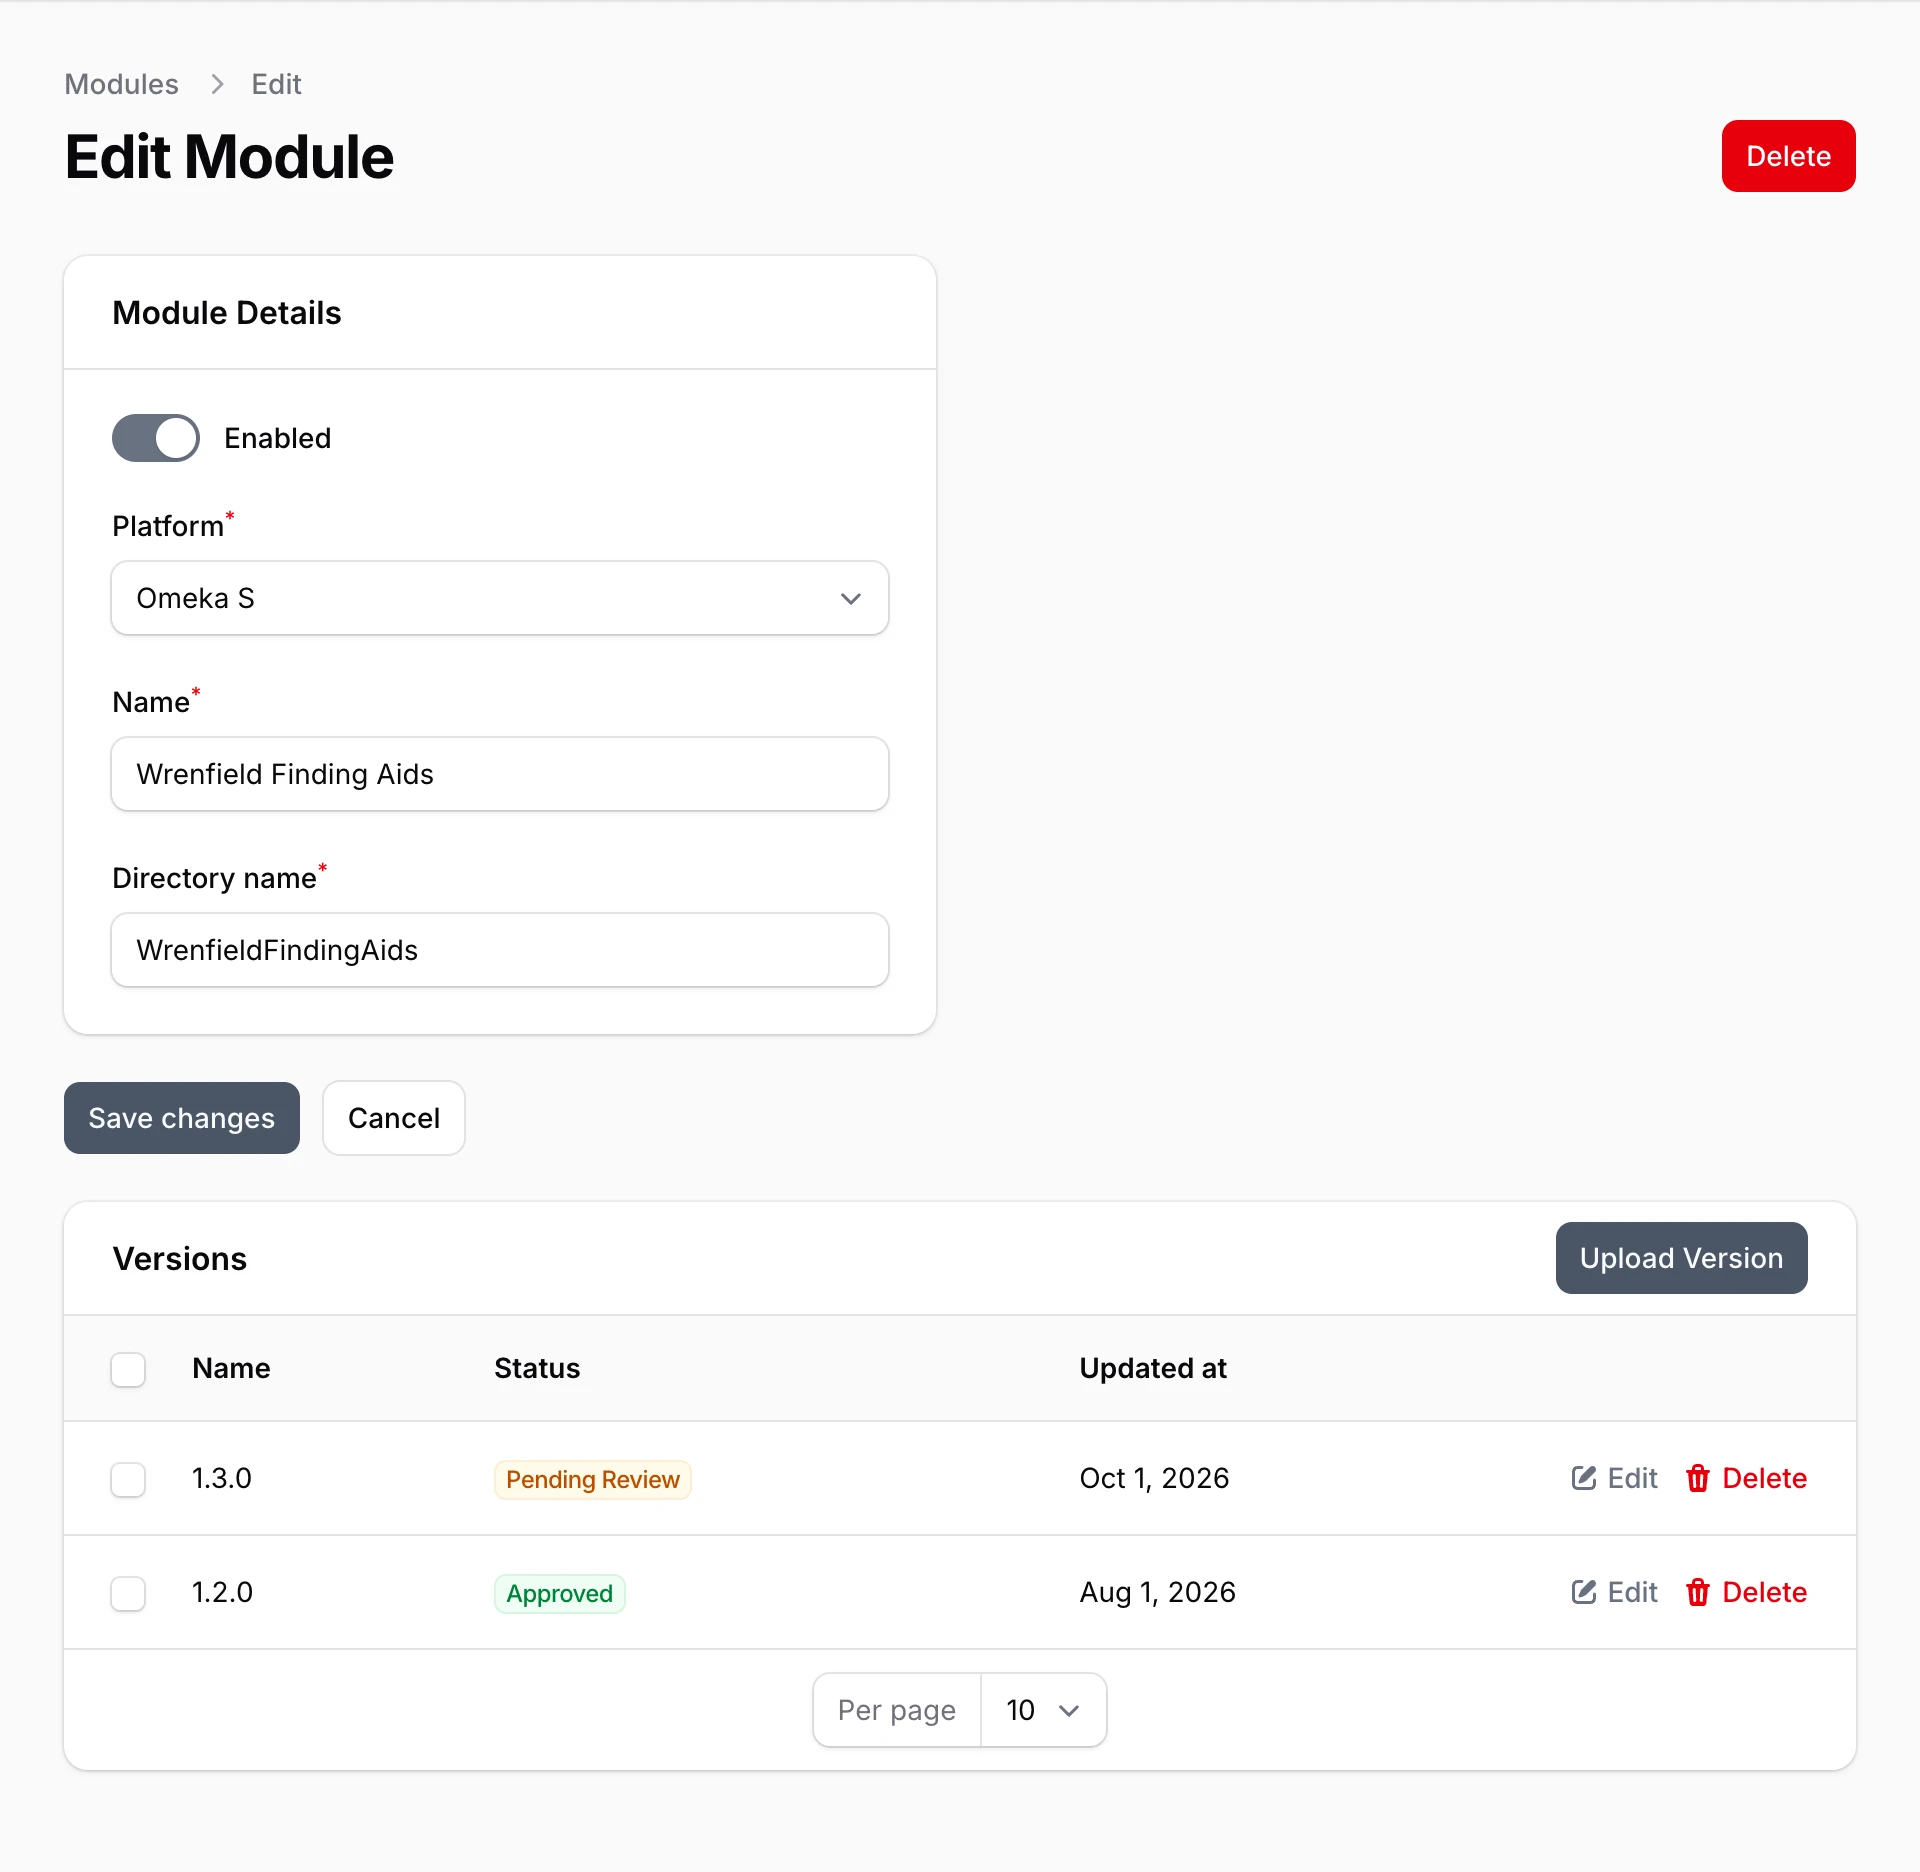
Your team's first upload is reviewed by our staff before it can be installed. Until then it shows as Pending Review in the Versions list. You will get a notification when it is approved (or, if something needs fixing, why it was not). After your team's first approval, later uploads are approved automatically.
Install it on your sites
Once a version is approved, open any site on the matching platform, go to its Modules or Themes page, and your upload is waiting on the Available tab, marked Local. Installing works exactly like items from the catalog, which is covered in installing modules and themes.
When a new version comes out
When you have an updated zip, come back and upload it to the same entry. Every upload adds a new version, and each of your sites can choose which version to run. See managing versions for how that works.